Showing posts with label fall nails. Show all posts

Wednesday, November 5, 2014

Fall make-up look and nail look ft. products by Born Pretty Store

After receiving many compliments on my Halloween look, I got inspired and decided to make another nail-face look.
This time with a fall theme.
Now, up front, I almost never wear make-up in my daily life.
Trying to get the kids ready for school is my No.1 priority, which leaves me with almost no time to even think about make-up.
On a good day I apply some foundation and a mascara :D
However, I do love make-up and my laptop is full with make-up inspirations/tutorials etc.
My make-up stash isn't bad either, if I may say so ;-)

I've received some goodies from Born Pretty Store for reviewing and after creating the nail look, I also used these products for my face look.

So, let's get started :D

I really wanted to show a new nail polish brand (Swedish) that I've discovered around here; IsaDora.


Here are some swatches of 791 Autumn leaves.

Picture taken in light box without flash

Picture taken in light box with flash

Autumn leaves is actually a wine color with goldish shimmer (micro glitter),
Almost opaque with 1 coat, which shows more of the purple color.
With 2 coats it leans to a brown. Pictures show 2 thin coats.
The flash picture suggests that there might be some multi colored and/or holo micro glitters too.
And believe me, this is a true beauty as soon as it hits light/sun.
Not disappointed at all (except for the price maybe €11,50/$14,39).

We still had some sunny days here in Holland and I felt this was the last chance to try one of my holo topcoats. 
I applied 1 coat of 12-12-2012 by Big City Nails (which is a Dutch Indie Brand).

Then I used one of the products that I've received from Born Pretty Store; 


I'm not going through the whole process of how to apply water decals (if you are new to them, you can have a look at previous posts by me about water decals).
They were easy to use.
One note: They look best on a lighter background.

Above shows 1 coat of IsaDora 791 Autumn leaves, topped with 1 coat of Big City Nails 12-12-2012 (holo topcoat) and water decals by Born Pretty Store
The holo topcoat looks scattered on the picture but I actually saw a pretty linear holo in real life.

As I felt the darker background really didn't do the water decal justice, I also made a nail look with a lighter background.
Base color used: Catrice Limited Edition Crème Fresh C01 The Peach Boys.

Which look do you prefer?

On the accent nail you can see the other product that I've received from Born Pretty Store:

As you can see the leaf also has a little hole. 
With a small jump ring it could work perfect as a nail piercing jewel or even as a charm on a bracelet/necklace.

Now, for the face look you'll all be waiting for (of course ;-P)

Picture shows my hand with the first nail art in this post.
I've used the water decals on my cheek and some gold foil on the other one.
Around my hair line I've applied some decor fall leaves with hair wax.
I've used the 3D golden leave as a headlace.

Hope you like the look!


P.S. You can use my 10% off code when ordering by Born Pretty Store:

HUB10


Saturday, August 30, 2014

Swatches, review & nail art Essence Trend Edition Hello Autumn

Essence just came out with their new trend edition called "Hello Autumn".


With this collection Essence welcomes the autumn season with its beautiful golden sunshine and rustling leaves.
BeautiFALL!

The nail lacquers featured in this collection are all thermo nail polish and change color depending on the temperature.
But how many lacquers are in this collection?
The blog promo I received and the website as well show 5 lacquers.
So far I could only get my hands on 4 and haven't seen the 5th one anywhere.

The 4 lacquers I could get, are:


- 01 beauti-FALL red
- 02 meet my pumpkin
- 03 charlie seen in green
- 04 keep calm & go for a walk

And this would be the 5th lacquer:


- 05 autumn & the city

Well, you know me, if I can get my hands on the 5th lacquer anytime, I will update this post with it.

Review

I'm finally starting to love a good thermo polish. Especially with long nails cause it gives a perfect French manicure without any trouble.
These nail lacquers are so perfect for the fall season; great fall colors and the color change like fall leaves couldn't be found better.
I'm starting with the review so you won't be shocked when seeing the swatches :D
I had a lot of trouble catching the color change on camera. It was there in real life but subtle.
I experienced that my body temperature was low and it was a cold day as well...leaving me with mostly the "cold" color.
Holding my hand under warm water and resting my tips at some ice did show a bigger color change.
In the swatches you will see a subtle color change around the tips which was just slightly more visible in real life.
Now, if the bigger color change can only be achieved by holding your hand in hot water or a bucket full of ice...it isn't a strong thermo but my problem is that I can't really tell for sure.
Leaving you with my experience, I do have to say that even this subtle color change and simply the fall colors itself make this a beautiful fall collection.
For me all 4 are keepers!
Application was easy and these creme polishes were opaque with 2 coats.

Swatches

01 beauti-FALL red


02 meet my pumpkin


03 charlie seen in green


04 keep calm & go for a walk


Nail art

The first fall nail art is a fact.
And I tried something new for you!

Material:
- White nail polish
- Nail art brush
- Nail polish in fall colors (I of course used this collection)
- Scotch tape also known as magic/removable tape
- Pen or pencil or marker
- Scissors (preferably small and used for crafting)
- Tweezers
- Topcoat

Step 1:
Start with applying a white nail polish on all the nails. 
Let it dry completely and use a topcoat to speed up the drying time.

Step 2:
Place some pieces of tape (10 if you're going to do all 10 nails) on a flat surface. 
The pieces of tape can be as big as you want but around nail size is most handy.
Use a pen to draw fall leaves on the pieces of tape.
To prevent smudging and to make cutting easy, place another piece of tape on top of the drawed ones.

Step 3:
Use the scissors to cut out the fall leaves. 
And place the fall leave like a sticker on your nails.

Step 4:
Get your polishes and the nail art brush.
Paint small fall leaves around the outline of your sticker.
Wait for it to completely dry!!!

Step 5:
Use the tweezers or your nails to remove the stickers from your nails.

Step 6:
Apply topcoat to seal your design.


Wednesday, November 6, 2013

Day 310) Nail art fall

Today another fall nail art.

Fall colors used:
- Maybelline Forever Strong Pro 720 Green Miracle (index)
- NYC 335 Red Melody (middle)
- NYC 002 Full Metal Jacket (ring)
- NYC 340 All of the lights (pinky)

I used the ring fnger as accent nail.
I sponged the three colors as base and painted gold simple fall leaves on top of it.
The accent nail is finished with a matte topcoat, the others got a shiny one.
The matte topcoat in combination with the gold overruled all the sponged colors (at least picture wise, in real life the colors are better shown).


Sunday, November 3, 2013

Day 307) November Rain

It's November and when I hear November I always have to think about the Guns N' Roses song called "November Rain".
It sounds suitable for November as it's raining a lot here in November.
And not only 'water' rain...it also rains fall leaves (the last ones).
As I was thinking of this 'double' rain I wanted to translate it to a nice fall nail art.

I've only used a small dottingtool for this nail art to make two kinds of leaves and rain drops.
Here's a little tutorial for it:


The black circles are dots. The arrows show how you'll have to pull the polish with your dottingtool.


Wednesday, October 23, 2013

Day 296) Fall nail art gnome

I've been wanting to do a nail art with gnomes and some mushrooms/toadstools as their houses.
But as I was starting with a gnome I soon realised that the head already was a full nail cover :(
I could have started over and make a smaller version but I was happy with my gnome and didn't want to bother anymore.

I did think it looked kinda like Santa Clause :-/ To make it more fall I painted some tiny leaves around the head.

After finishing the accent nail I was pretty much done with doing nails.
I skipped the mushrooms and went for a simple mani for the rest of the nails; red with white dots (which is of course still a little reference to the toadstool).


Thursday, October 17, 2013

Day 290) Nail art fall (magnet design)

Although magnetic nail polish isn't that hot anymore I do think the effect is still very nice and the one who invented it must be very clever.
Especially with the Essence nail art magnet pen you can create fun designs; as long as it isn't that complicated and detailed.
For today's nail art I created a simple fall design using magnetic polish and the magnet pen.


Left picture is without flash, right picture is with flash.
Polish used:
Sally Hansen Magnetic Nail Color 907 Electric Emerald

Thursday, October 10, 2013

Day 283) Nail art fall colors

Busy day today.
A day of no inspiration, desire, willingness.
But a challenge is a challenge, so I tried to get over it and at least make something that looks like a design :D
I wanted to use my new fall colors and the design just happened...nothing fancy but not bad either.


Saturday, September 28, 2013

Day 271) Nail art fall gradient (inspired by a scarf)

Today a very simple and easy nail art.
The weather in the Netherlands is getting a bit colder and guess who's the first one with a laryngitis and cold...yes, of coure it's ME!
 
Today's nail art is inspired by this scarf:


It's a beige scarf with a dark purple print on the end sides from the brand Promiss
 
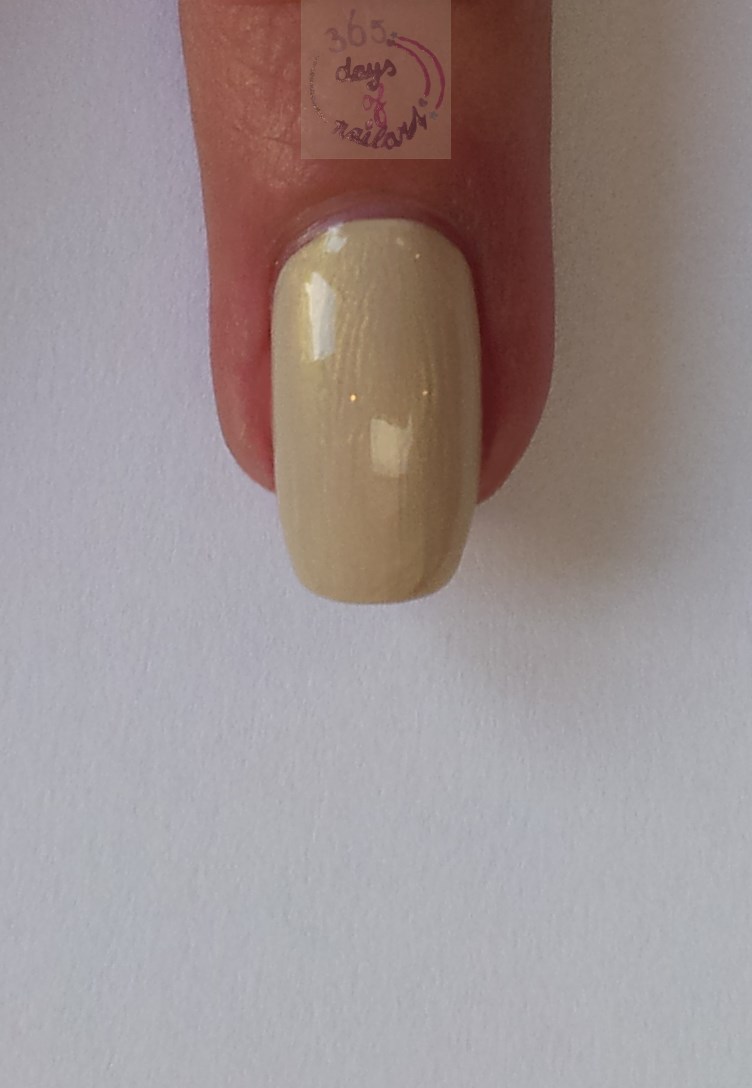
So, I started with a beige base (Catrice Ultimate Nail Lacquer Limited Edition Eve in Bloom C01 Bloomynous) and sponged a purple polish (Catrice Ultimate Nail Lacquer Limited Edition Eve in Bloom C02 Floralilac) from the tip up creating a gradient.


Friday, September 27, 2013

Day 270) Marbled fall nails

There are a lot of techniques which can be used to get that marbled look (saran wrap, dry marbling, sponging).
Today I used the sponging technique.
I simply applied 3 blobs of polish on the nail sized sponge (a reddish orange, yellow and green) and sponged it on the nails.
I pushed the sponge several times on the nail, while turning and placing the sponge in different ways.
I had to do this twice to get full opacity.

After applying topcoat and some drying time.
I decided to make a leaf accent nail.
Started with free handing the leaf outline but totaly messed up (pssst I'm not telling).
Then I decided to make everything around the leaf brown and...problem solved (yes, of course this has been absolutely on purpose).

 
Polishes used:
- Vernis POP FLUO no 01 (yellow)
- Catrice Ultimate Nail Lacquer 690 Fred Said Red (reddish orange)
- Catrice Ultimate Nail Lacquer Limited Edition Neo Geisha 05 Planet Tokyo
- Rimmel London 60 seconds 550 Major Brown
 

Thursday, September 26, 2013

Day 269) Abstract nails (fall colors)

Each week we get advertisement leaflets.
They are not only interesting for finding bargains but also for finding inspiration.
The colors for today's nail art are inspired by a leaflet from a clothing store.
I looked at those fall colors together and just wanted to make an easy abstract nail art with it.

So, here it is:


After the basecoat I applied striping tape by making an "X"

I used the 4 colors from the leaflet to fill up each area.
Then I removed the striping tape and used a striper brush and brown polish to make the "X" again with polish.

Polishes used:
- Catrice Ultimate Nail Lacquer Limited Edition Eve in Bloom C01 Bloomynous (beige)
- Catrice Ultimate Nail Lacquer Limited Edition Eve in Bloom C02 Floralilac (plum)
- Etos Long Lasting Nailpolish 124 (teal)
- NYC 208 Pier 17 (cobalt blue)
- Rimmel London 60 seconds 550 Major Brown (dark brown)

Wednesday, September 25, 2013

Day 268) Forest path nail art

Up front: Today's nail art looks way better in real life than on the pictures :(
I was thinking about those wall papers of a forrest path in fall. I really love these wall papers and like to look at them any time of the year.
I guess I used wrong polishes for the nail art as they are metallic and chrome and without natural light it's just all catching the light and dissapearing in the pictures.

Nevertheless, I have a tutorial.

1) Start with applying a neutral color (Catrice Ultimate Nail Lacquer Limited Edition Eve in Bloom - C01 Bloomynous)


2) Use a sponge and bronze color to sponge the nail (Catrice Ultimate Nail Lacquer - 910 Oh my Goldness!)


3) Use a striper brush and dark brown polish to paint the trees (Rimmel London 60 seconds - 550 Major Brown)


4) Use a flat or one stroke brush and some chromes or maybe just normal colors (red, green, yellow, brown, orange) to make the leaves on the trees. Only around the cuticles and starting from half way.
Use the brush as a dotting tool (dipping).
- NYC 018 Bronze metal
- OPI mini Muir Muir on the Wall


 Too bad the leaves are almost invisible on the picture. Maybe I can get a better pic tomorrow in the sun.

Thanks for reading!

Sunday, September 22, 2013

Day 265) Fall leaves nail art

Fall leaves? Again!
Yes, been there but not done yet ;D
 
Today some fall leaves and a swirl design which stands for the wind.


Thursday, September 19, 2013

Day 262) Abstract fall nail art

Today I have an abstract fall nail art simular to this nail art I did before.
You can also find the tutorial at this previous post.

Material for this nail art:
- Fall colors
- Striping tape
- Scissors
- Nail art brush

Start with applying one of your colors as a base.
Let it dry completely before applying the striping tape.
Use the nail art brush to give the stripes a different color.

Wednesday, September 18, 2013

Day 261) Nail art fly agaric/fly amanita

I keep on going with the fall nail arts that are in my head.
But if you have any requests to make something else or tutorials...please let me know!!!
 
Today Amanita muscaria, commonly known as the fly agaric or fly manita.
The toadstool is hand painted, the rest is a two color sponged mani (metallic/holo).


Tuesday, September 17, 2013

Day 260) Nail art fall tree

Today I have a tutorial for an easy fall tree.
 
Step 1:
Start with applying a white or beige color
 
Step 2:

Material: Striper brush and brown polish
Paint a tree on the nail using the striper brush and brown polish
 
Step 3:
 
Material: Dottingtool and red, orange, yellow and green polish
Use the dottingtool and the colors above to make colorful dots around the branches and at the trunk; these dots are going to be the colored leaves.

 Finished look: