Showing posts with label pearls. Show all posts

Wednesday, May 29, 2013

Day 149) Nail art crosses

I've had a request for nails with spikes today.
Only webshops provide these. So, that's an upcoming nail art.
However, I did immediately think about rock nails.
And there are always crosses on rock themed nails.
Today's nail art is only about crosses.
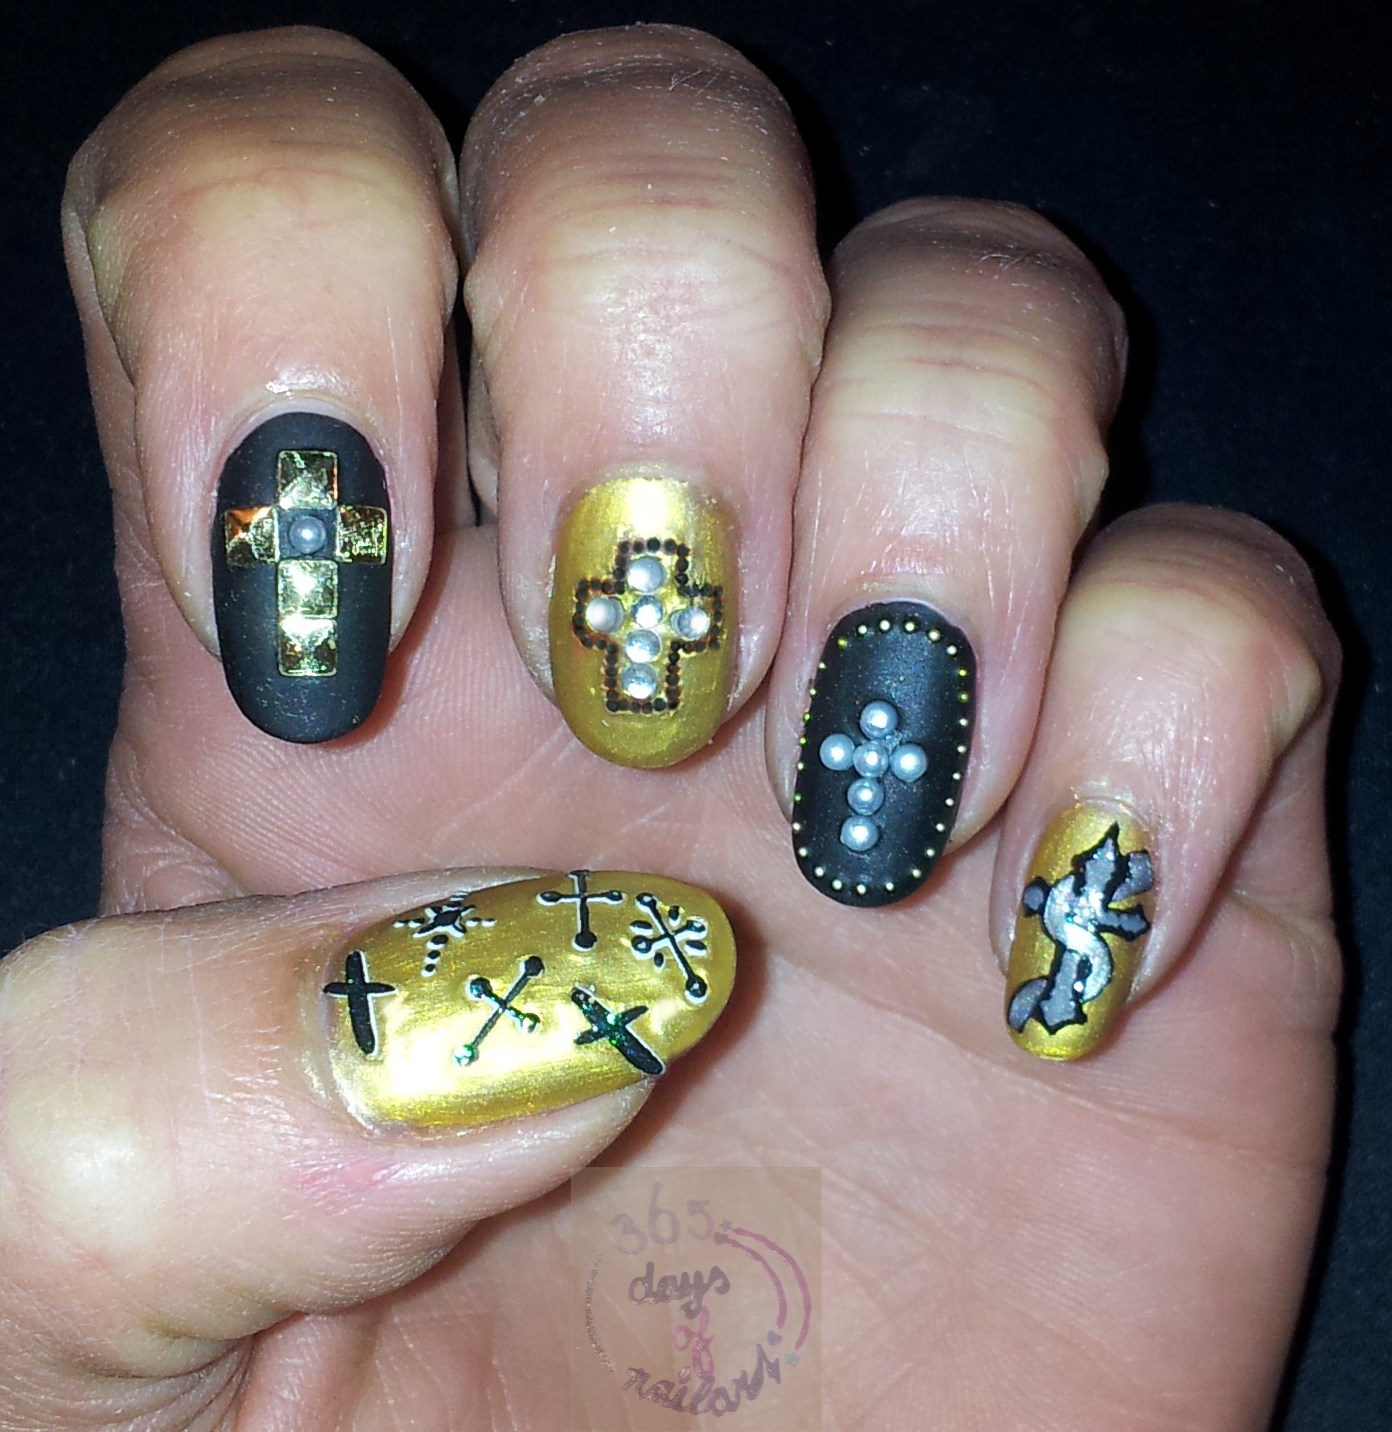


First I painted my nails with a gold and black nail polish. I finished them with a matte topcoat.

Thumb: Max & More (Action store) nail stickers
Index finger: Square studs and pearl
Middle finger: Rhinestones and black beads (on the picture the gold gives the beads an orange look)
Ring finger: An outline of golden beads and a cross made of pearls
Pinky: Striper brush design. I made the outer lines of the cross with a black nail polish. Then colored it with a dark grey. The snaky thing is in silver. (In real life there's a big difference between the grey and silver, but this doesn't show well on the picture)

Hope you like them!

Thursday, May 23, 2013

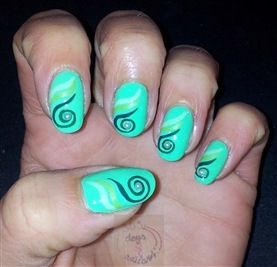
Day 143) Simple elegance in greens

Tired and low on inspiration.
So, today's nail art is a simple one.

1) After the basecoat I painted my nails with 2 thin coats of Bourjois 1 Seconde - No. 27 Green fizz

2) Then I used a striper brush and a light green colour to make a wavy stripe (picture 1)
I repeated this step with a little darker green underneath the light one. Again a wavy stripe (picture 2)
1)

2)

3) Then I did a last wavy stripe with dark green underneath the second wavy stripe, only this time I made a swirl at the end

4) To give the nail art some more elegance I placed half pearls in the centre of the swirls. As glue I used my topcoat


For sure not my best nail art. But everybody has an off-day once in a while...today is mine.
I do like the colors though; great for summer!

Friday, May 17, 2013

Day 137) Nail art matte with pearls (white and colored)

Today was a day of many other commitments.
Not much time for a nail art or writing my blog.
So, today is a simple and easy one.

Here is the step-by-step:
1) After the basecoat, paint your nails black

2) Apply a matte topcoat

3) Put on another layer of matte topcoat and use this as a glue for your pearls

Too bad the colors on the pictures aren't the same as in real life. A matte black background with white pearls looks really classy! But the picture doesn't do it justice.

The nail of the ring finger is going to be my accent nail.
Some time ago I came around this idea and of course I'll have to share it with you too (credits for this person!)
Here is the step-by-step of my accent nail:
1) Get a piece of tape (picture 1) and make a circle with it, sticky side on the outside (picture 2)


2) Put the tape flat on a piece of a paper (picture 1) and place some pearls on the sticky tape (picture 2)


3) Paint the pearls with nail polish (different colors)

Let them dry and remove them from the tape. They are ready for use now!

4) Give the accent nail another layer of matte topcoat and use this as a glue for the colored pearls

Done!
Easy, simple and very nice for a party. Have fun!