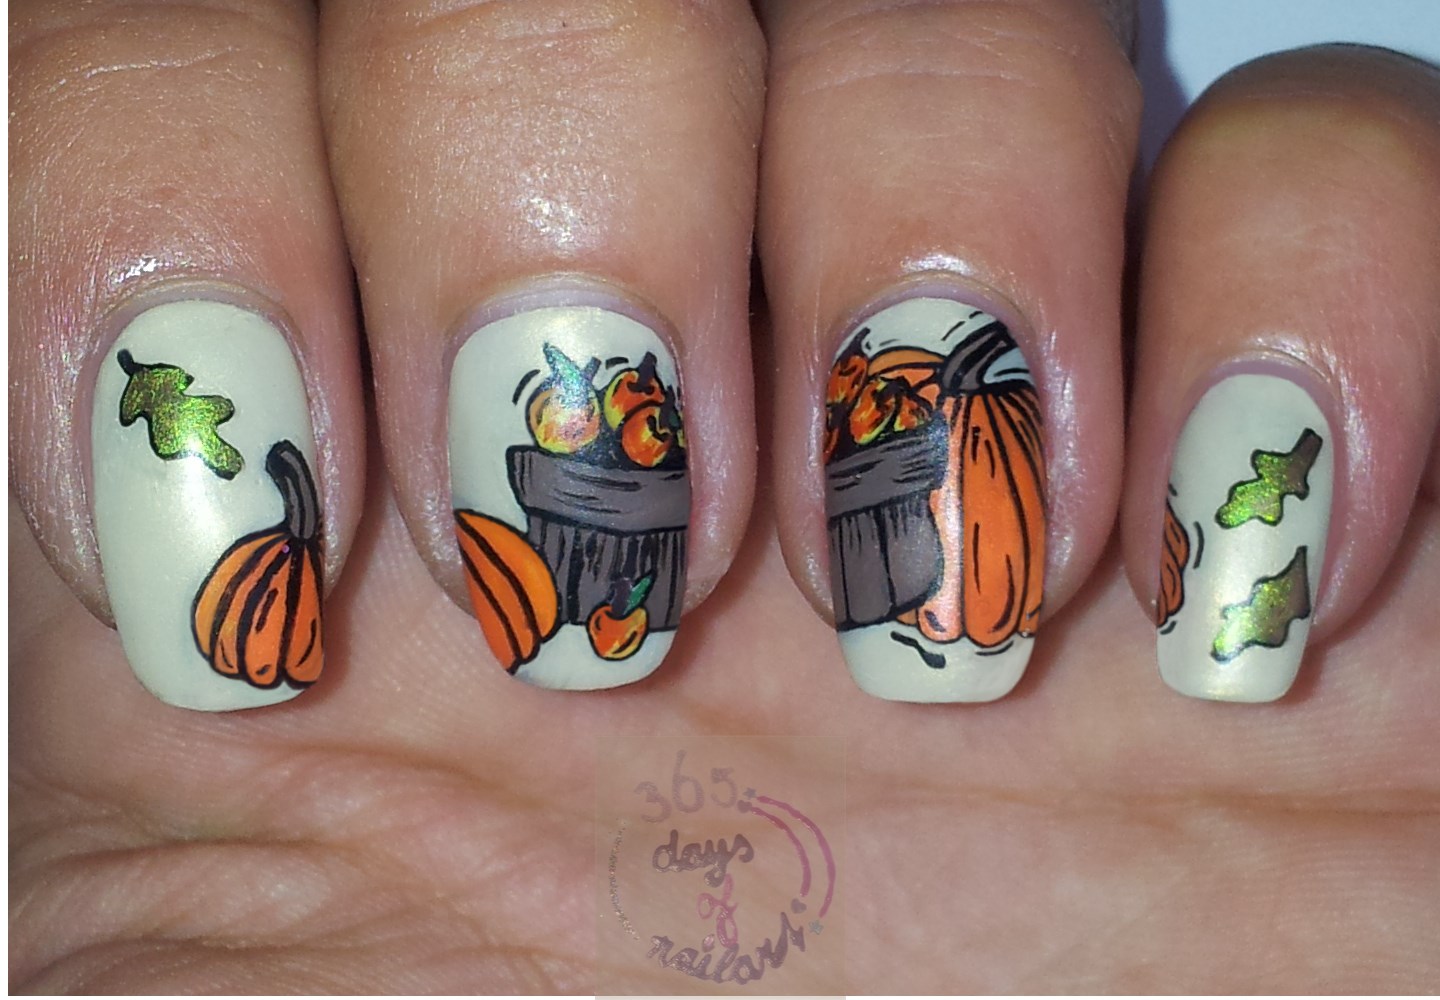
Today another fall nail art.
Fall colors used:
- Maybelline Forever Strong Pro 720 Green Miracle (index)
- NYC 335 Red Melody (middle)
- NYC 002 Full Metal Jacket (ring)
- NYC 340 All of the lights (pinky)
I used the ring fnger as accent nail.
I sponged the three colors as base and painted gold simple fall leaves on top of it.
The accent nail is finished with a matte topcoat, the others got a shiny one.
The matte topcoat in combination with the gold overruled all the sponged colors (at least picture wise, in real life the colors are better shown).
Swatches, reviews and nail art. All art is made by me on my natural nails. Mostly free hand.
Showing posts with label nail art fall design. Show all posts
Wednesday, November 6, 2013
Thursday, October 10, 2013
Day 283) Nail art fall colors
Busy day today.
A day of no inspiration, desire, willingness.
But a challenge is a challenge, so I tried to get over it and at least make something that looks like a design :D
I wanted to use my new fall colors and the design just happened...nothing fancy but not bad either.
Sunday, September 22, 2013
Day 265) Fall leaves nail art
Fall leaves? Again!
Yes, been there but not done yet ;D
Today some fall leaves and a swirl design which stands for the wind.
Friday, September 20, 2013
Day 263) Nail art hedgehog
Today I have an incomplete tutorial because some of my (really many) pictures failed.
Still, I believe that you lovelies will be able to follow it anyways...so, here it is!
Step 1:
Make your own nail foil/decal (I've explained this before but will do it again)
Material:
- Plastic zipper bag (or something simular)
- Topcoat (Seche Vite)
- Brown nail polish (Rimmel 550 Major Brown)
Apply a layer of topcoat on the zipper bag and let it dry for a bit.
Apply brown polish on top of the layer of topcoat.
Let it dry completely as you proceed with the next steps.
Step 2:
Apply a light polish as base on the nail(s) (white, beige, nude, pink, peach...you get the idea).
Step 3:
Use a nail art brush and black polish to make the body of the hedgehog. Make the snout red.
Okay this is a step which is pretty important and the pictures were just all blurred.
Luckily the final picture shows the design as well, so I didn't bother to do it again. But if you've read this post and still wish to have a picture of just the body...let me know and I will!
Step 4:
Use your DIY nail foil/decal to make the spines.

Material:
- Scissors
- DIY nail foil/decal (from step 1)
Get the decal from the zipper bag (I use my nails but you can also use tweezers).
Cut it into tiny strips:
Step 5:
Apply a layer of topcoat on the nail. Use this as glue for the strips (spines). Start with the top row, moving down in rows towards the body. Apply some topcoat again between the rows.
N.B. I used a rhinestone picker for picking up the strips but you can also use a wet pencil or wet cotton swab.
Outcome is best when you don't apply the strips flat but let them stick up a little.
I hope my explanation is clearly enough. If not, please don't hesitate to contact me.
Still, I believe that you lovelies will be able to follow it anyways...so, here it is!
Step 1:
Make your own nail foil/decal (I've explained this before but will do it again)
Material:
- Plastic zipper bag (or something simular)
- Topcoat (Seche Vite)
- Brown nail polish (Rimmel 550 Major Brown)
Apply a layer of topcoat on the zipper bag and let it dry for a bit.
Apply brown polish on top of the layer of topcoat.
Let it dry completely as you proceed with the next steps.
Step 2:
Apply a light polish as base on the nail(s) (white, beige, nude, pink, peach...you get the idea).
Step 3:
Use a nail art brush and black polish to make the body of the hedgehog. Make the snout red.
Okay this is a step which is pretty important and the pictures were just all blurred.
Luckily the final picture shows the design as well, so I didn't bother to do it again. But if you've read this post and still wish to have a picture of just the body...let me know and I will!
Step 4:
Use your DIY nail foil/decal to make the spines.

Material:
- Scissors
- DIY nail foil/decal (from step 1)
Get the decal from the zipper bag (I use my nails but you can also use tweezers).
Cut it into tiny strips:
Step 5:
Apply a layer of topcoat on the nail. Use this as glue for the strips (spines). Start with the top row, moving down in rows towards the body. Apply some topcoat again between the rows.
N.B. I used a rhinestone picker for picking up the strips but you can also use a wet pencil or wet cotton swab.
Outcome is best when you don't apply the strips flat but let them stick up a little.
I hope my explanation is clearly enough. If not, please don't hesitate to contact me.
GOOD LUCK!
Tuesday, September 17, 2013
Day 260) Nail art fall tree
Today I have a tutorial for an easy fall tree.
Step 1:
Start with applying a white or beige color
Step 2:
Material: Striper brush and brown polish
Paint a tree on the nail using the striper brush and brown polish
Step 3:
Material: Dottingtool and red, orange, yellow and green polish
Use the dottingtool and the colors above to make colorful dots around the branches and at the trunk; these dots are going to be the colored leaves.
Finished look:
Monday, September 16, 2013
Day 259) Nail art fall scene
I'm not a huge fall fan.
Coldness, wind and rain is really not my thing!
But I do like pumpkins, acorns, chestnuts, colored leaves, candles etc.
It brings some warmth in the cold fall months.
Today I have nail art on which I tried to show some of the good parts of fall.
Saturday, September 14, 2013
Day 257) Nail art Valentino Fall background
Today I've been looking at some Fall fashion.
I ended up at Valentino Haute Couture Fall 2013 collection.
And the following image had my special interest:
Besides it's a very beautiful collection, this image had my interest for the background.
Dark wall with golden accents (like sunflowers, fireworks or mirrors).
I thought this would be a great background to translate into a nail art and I did:
Step 1) After the basecoat I applied two coats of Muir Muir on the Wall-OPI San Fransisco mini
Step 2) With a striper brush I made the bronze and golden designs
Step 3) In the centre of the designs I applied golden studs (round, different shapes)
To complete the look I also applied some golden beads
Thursday, September 12, 2013
Day 255) Nail art squirrel
Loving fall nail arts!
Why? Well, mostly because it gives me new inspiration and ideas.
My challenge has many ups and downs.
Most important thing to keep me going is knowing what to make.
Seeking inspiration and not finding it, is killing.
It takes so much more time; time which at that point I want to use for my dear ones...
But enough with the chit chat, here is today's nail art
Why? Well, mostly because it gives me new inspiration and ideas.
My challenge has many ups and downs.
Most important thing to keep me going is knowing what to make.
Seeking inspiration and not finding it, is killing.
It takes so much more time; time which at that point I want to use for my dear ones...
But enough with the chit chat, here is today's nail art
Subscribe to:
Posts (Atom)