I was thinking about those wall papers of a forrest path in fall. I really love these wall papers and like to look at them any time of the year.
I guess I used wrong polishes for the nail art as they are metallic and chrome and without natural light it's just all catching the light and dissapearing in the pictures.
Nevertheless, I have a tutorial.
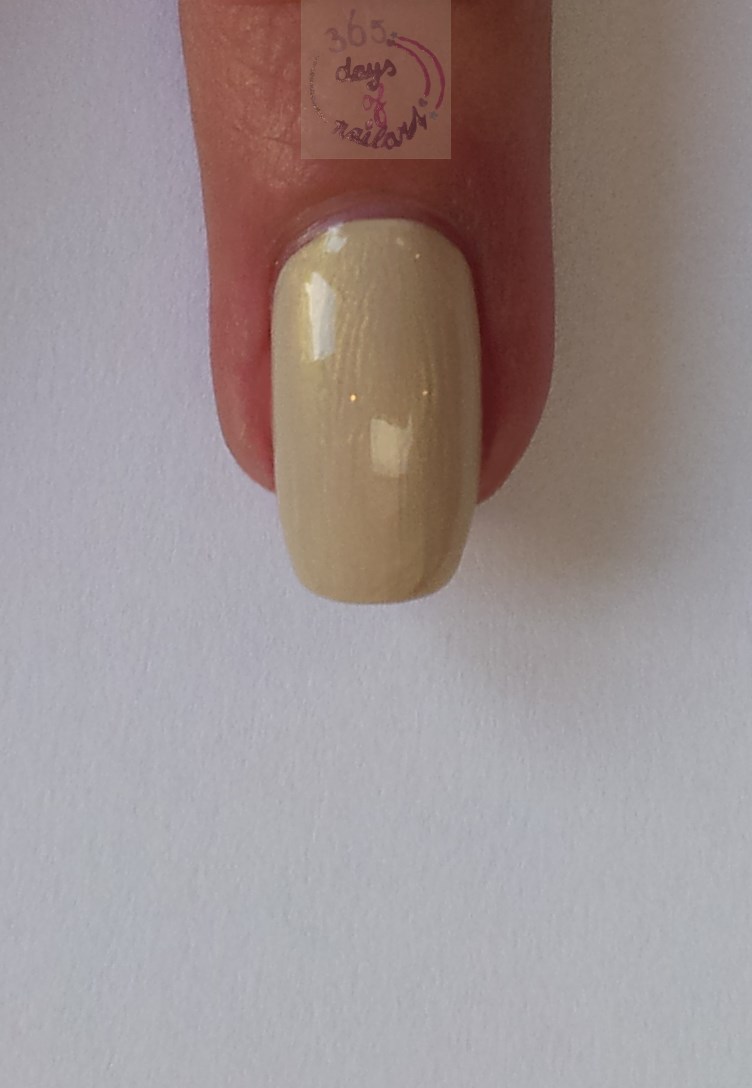
1) Start with applying a neutral color (Catrice Ultimate Nail Lacquer Limited Edition Eve in Bloom - C01 Bloomynous)


2) Use a sponge and bronze color to sponge the nail (Catrice Ultimate Nail Lacquer - 910 Oh my Goldness!)


3) Use a striper brush and dark brown polish to paint the trees (Rimmel London 60 seconds - 550 Major Brown)


4) Use a flat or one stroke brush and some chromes or maybe just normal colors (red, green, yellow, brown, orange) to make the leaves on the trees. Only around the cuticles and starting from half way.
Use the brush as a dotting tool (dipping).
- NYC 018 Bronze metal
- OPI mini Muir Muir on the Wall


Too bad the leaves are almost invisible on the picture. Maybe I can get a better pic tomorrow in the sun.
Thanks for reading!