The title of my blog post suggest that I have a very nice nail art for you...and I have!
At least, so I think ;-D
Not only is the look very 'hot'.
The word 'hot' is also a reference to the design of today's nail art; which is 'flames'.
After the basecoat I painted my nails black and applied a topcoat:
For today's nail art I used 16 different colors of nail polish (including the black nail polish from above).
This is a lot and I understand that if you aren't such a huge nail polish and nail art addict as I am, you might not even own 16 different colors or more.
In that case I recommend you keep it at one colour group which means you only need 4 colors (including the black). For example if you choose the colour group pink, you'll need a lightpink, a regular pink and a darker pink or possibly white, pink and red). Whatever you like!
The nail art itself can be made in 3 simple steps:
- Start with the lightest colour and make long flames. Starting from the tip and ending almost at the cuticle
- Then use the middle colour to make flames, starting from the tip and ending at 2/3 of the nail
- Last you use de darkest colour to make flames, starting from the tip and ending at 1/3 of the nail
For the flames it's best to use a striper brush. This brush almost makes flames on it's own. Because in the beginning the brush releases more nail polish than at the end (which will be the end of your flames). Not sure about it...just try a few times on paper to get used to the technique.
To illustrate the steps I have some pictures for you:
1)
First make some wavy stripes one way (picture 1), then let these stripes be crossed by wavy stripes the other way (picture 2). Start with the lightest colour, beginning from the tip and ending almost at the cuticle.
2)
Make the same wavy stripes as above with the middle colour. Beginning from the tip and ending at 2/3 of the nail.
3)
Do the same with the darkest colour, beginning from tip but ending at 1/3 of the nail.
Apply a topcoat and done!
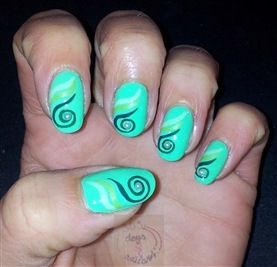
To make this nail art really 'hot' I used a different colour group on each nail:
- Thumb: greens
- Index finger: blues
- Middle finger: purples
- Ring finger: pinks
- Pinky: oranges
And this is the outcome of today's nail art:
HOT or NOT?
Let me know!


.jpg)
.jpg)
.jpg)